Making Chocolates: Lessons Learned
Japan celebrates valentines day a bit different. On February 14th women give presents, often chocolate, to male friends, coworkers, and their partners. In March it's White Day on the 14th when the men reciprocate. There's two versions of present giving, "giri choko" or "obligation chocolate" and "honmei choko" which translates, roughly, to "chocolate for one's favorite". For the past few years I've been melting chocolate and pouring it over strawberries for my wife, but this year I wanted to do something different. I am not sure where I got the idea from, but I decided I wanted to make my own chocolate bars. Since this preamble is long enough, I'll stick to bullet points so that you too can one day impress your partner with custom chocolates.
Designing the master
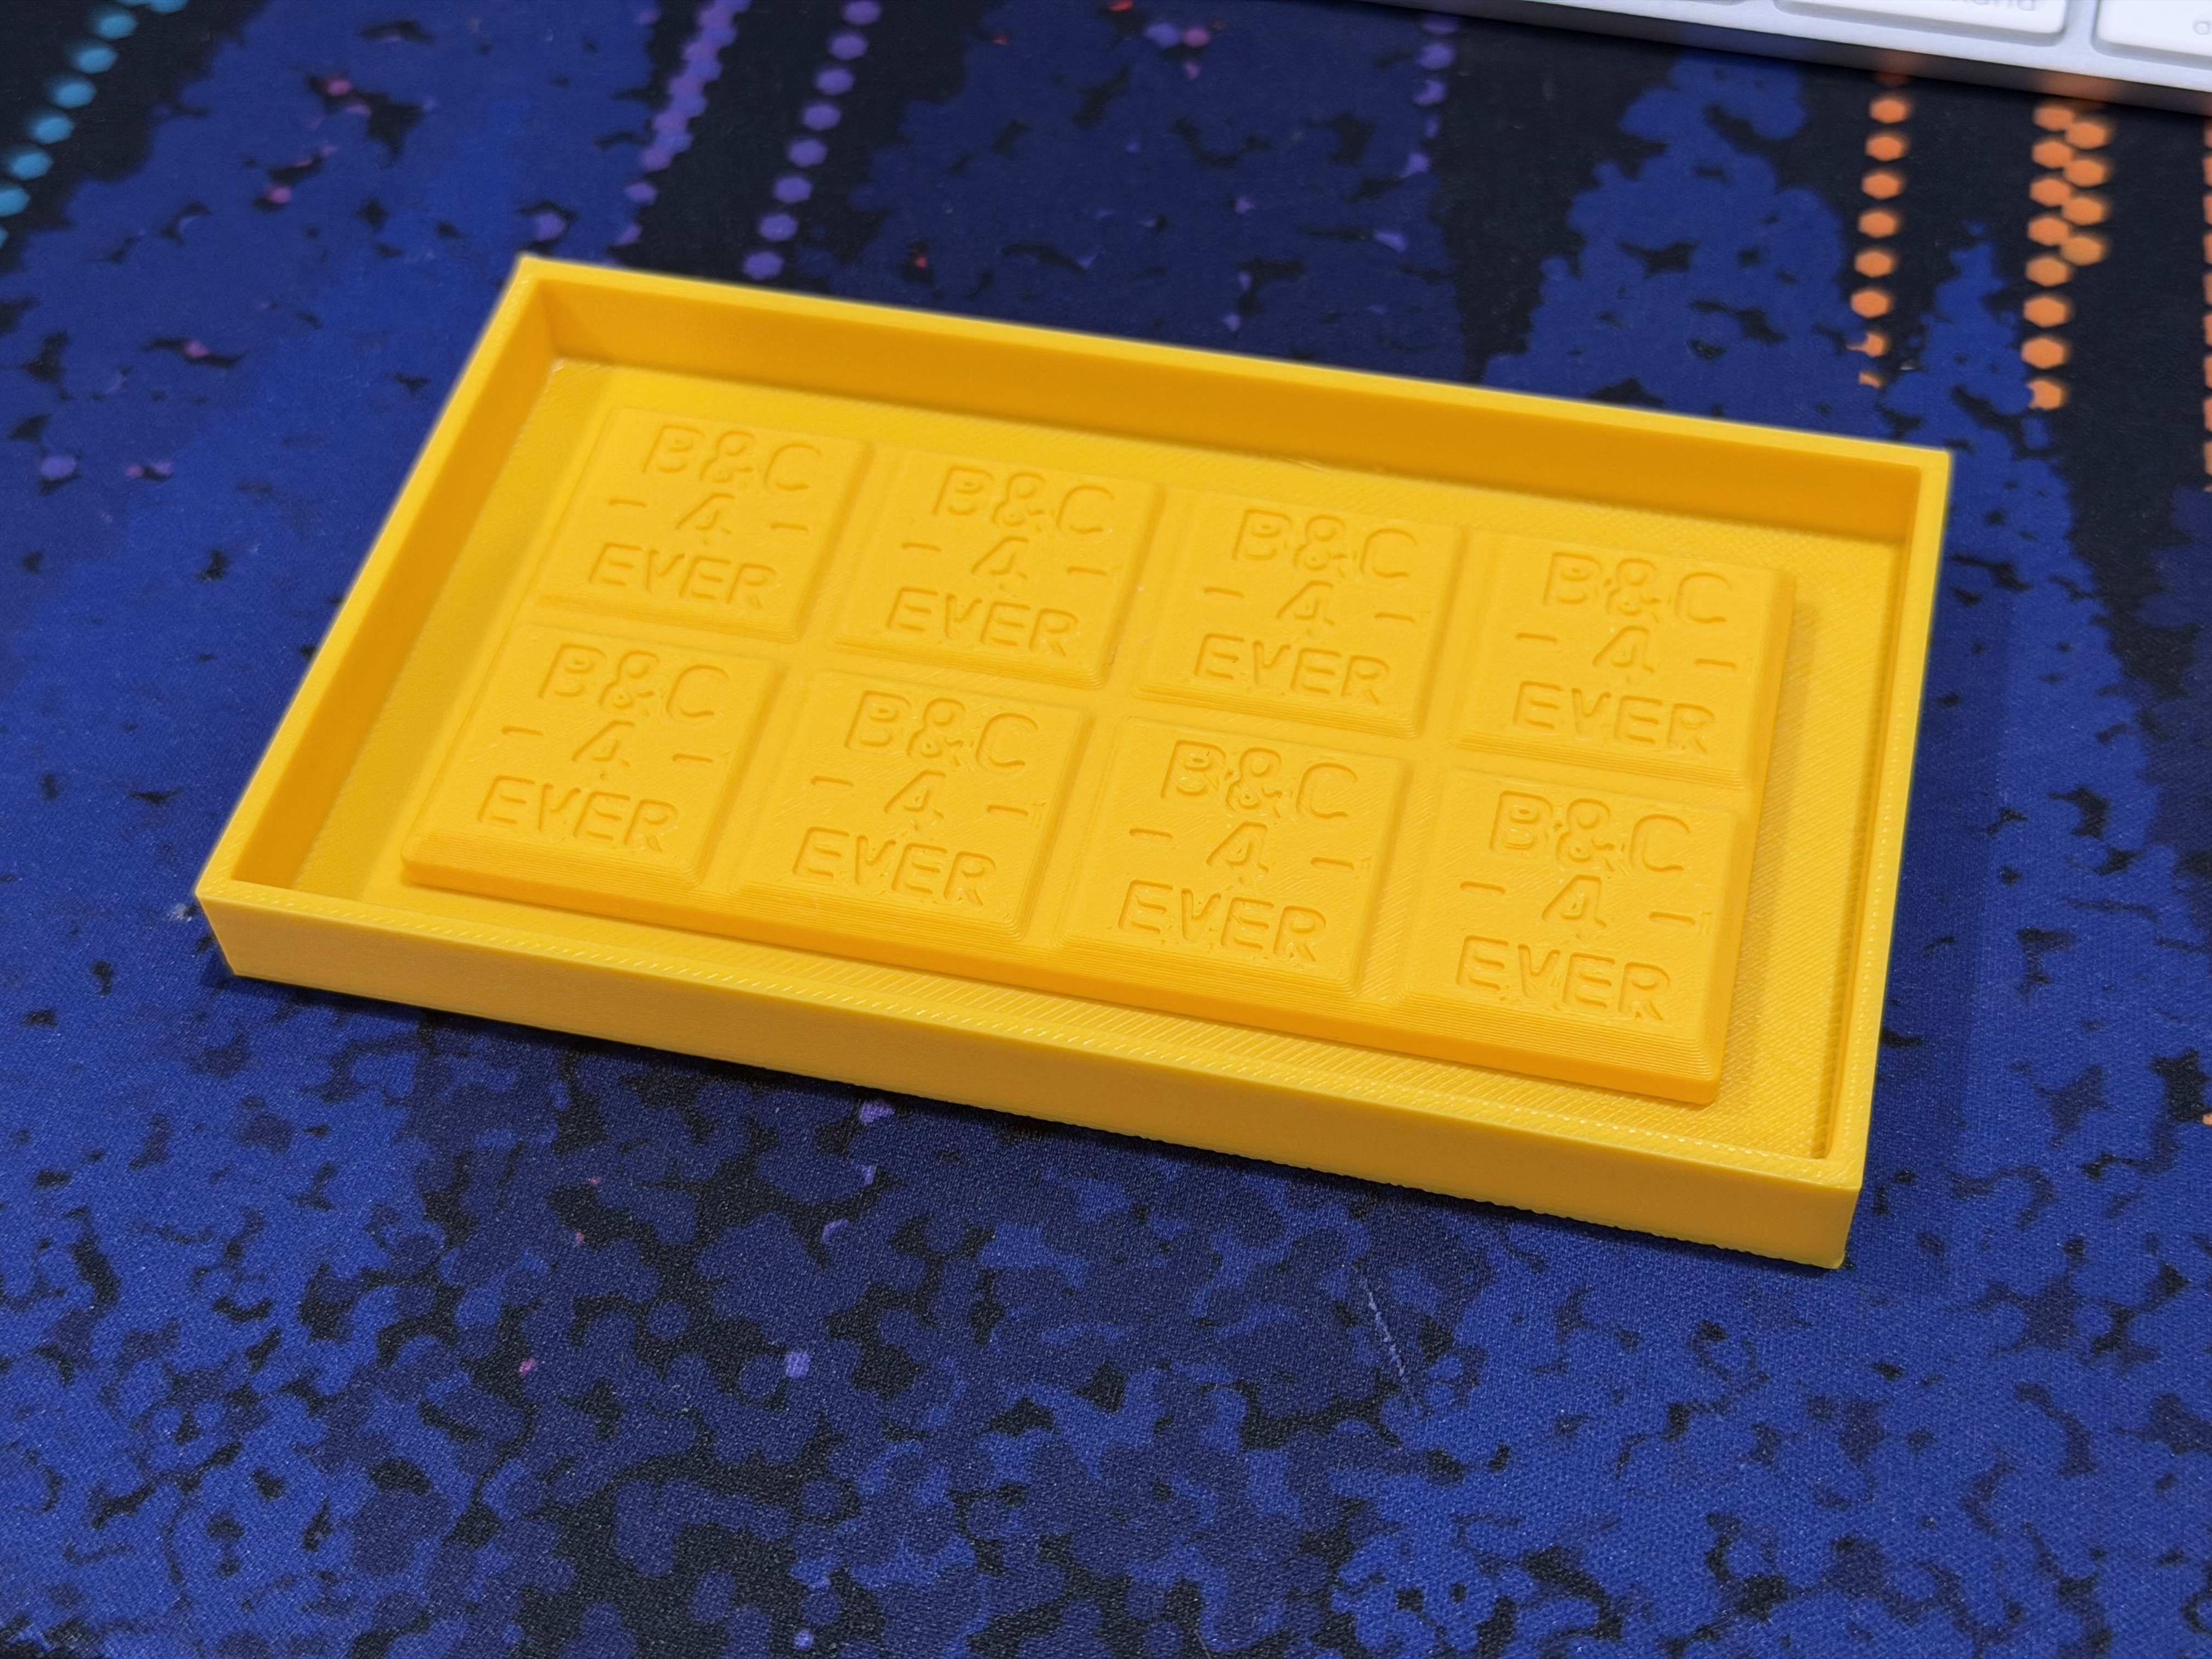
- I used Fusion 360 to design a master, this would be used for casting a mold.
- Inspiration was borrowed heavily from real bars.
- Initially I made the features too deep, this cascaded into other issues
-
- The silicone used for molding has to penetrate every crevice, make it to deep, and you risk the mold not separating properly, or features not being copied properly.
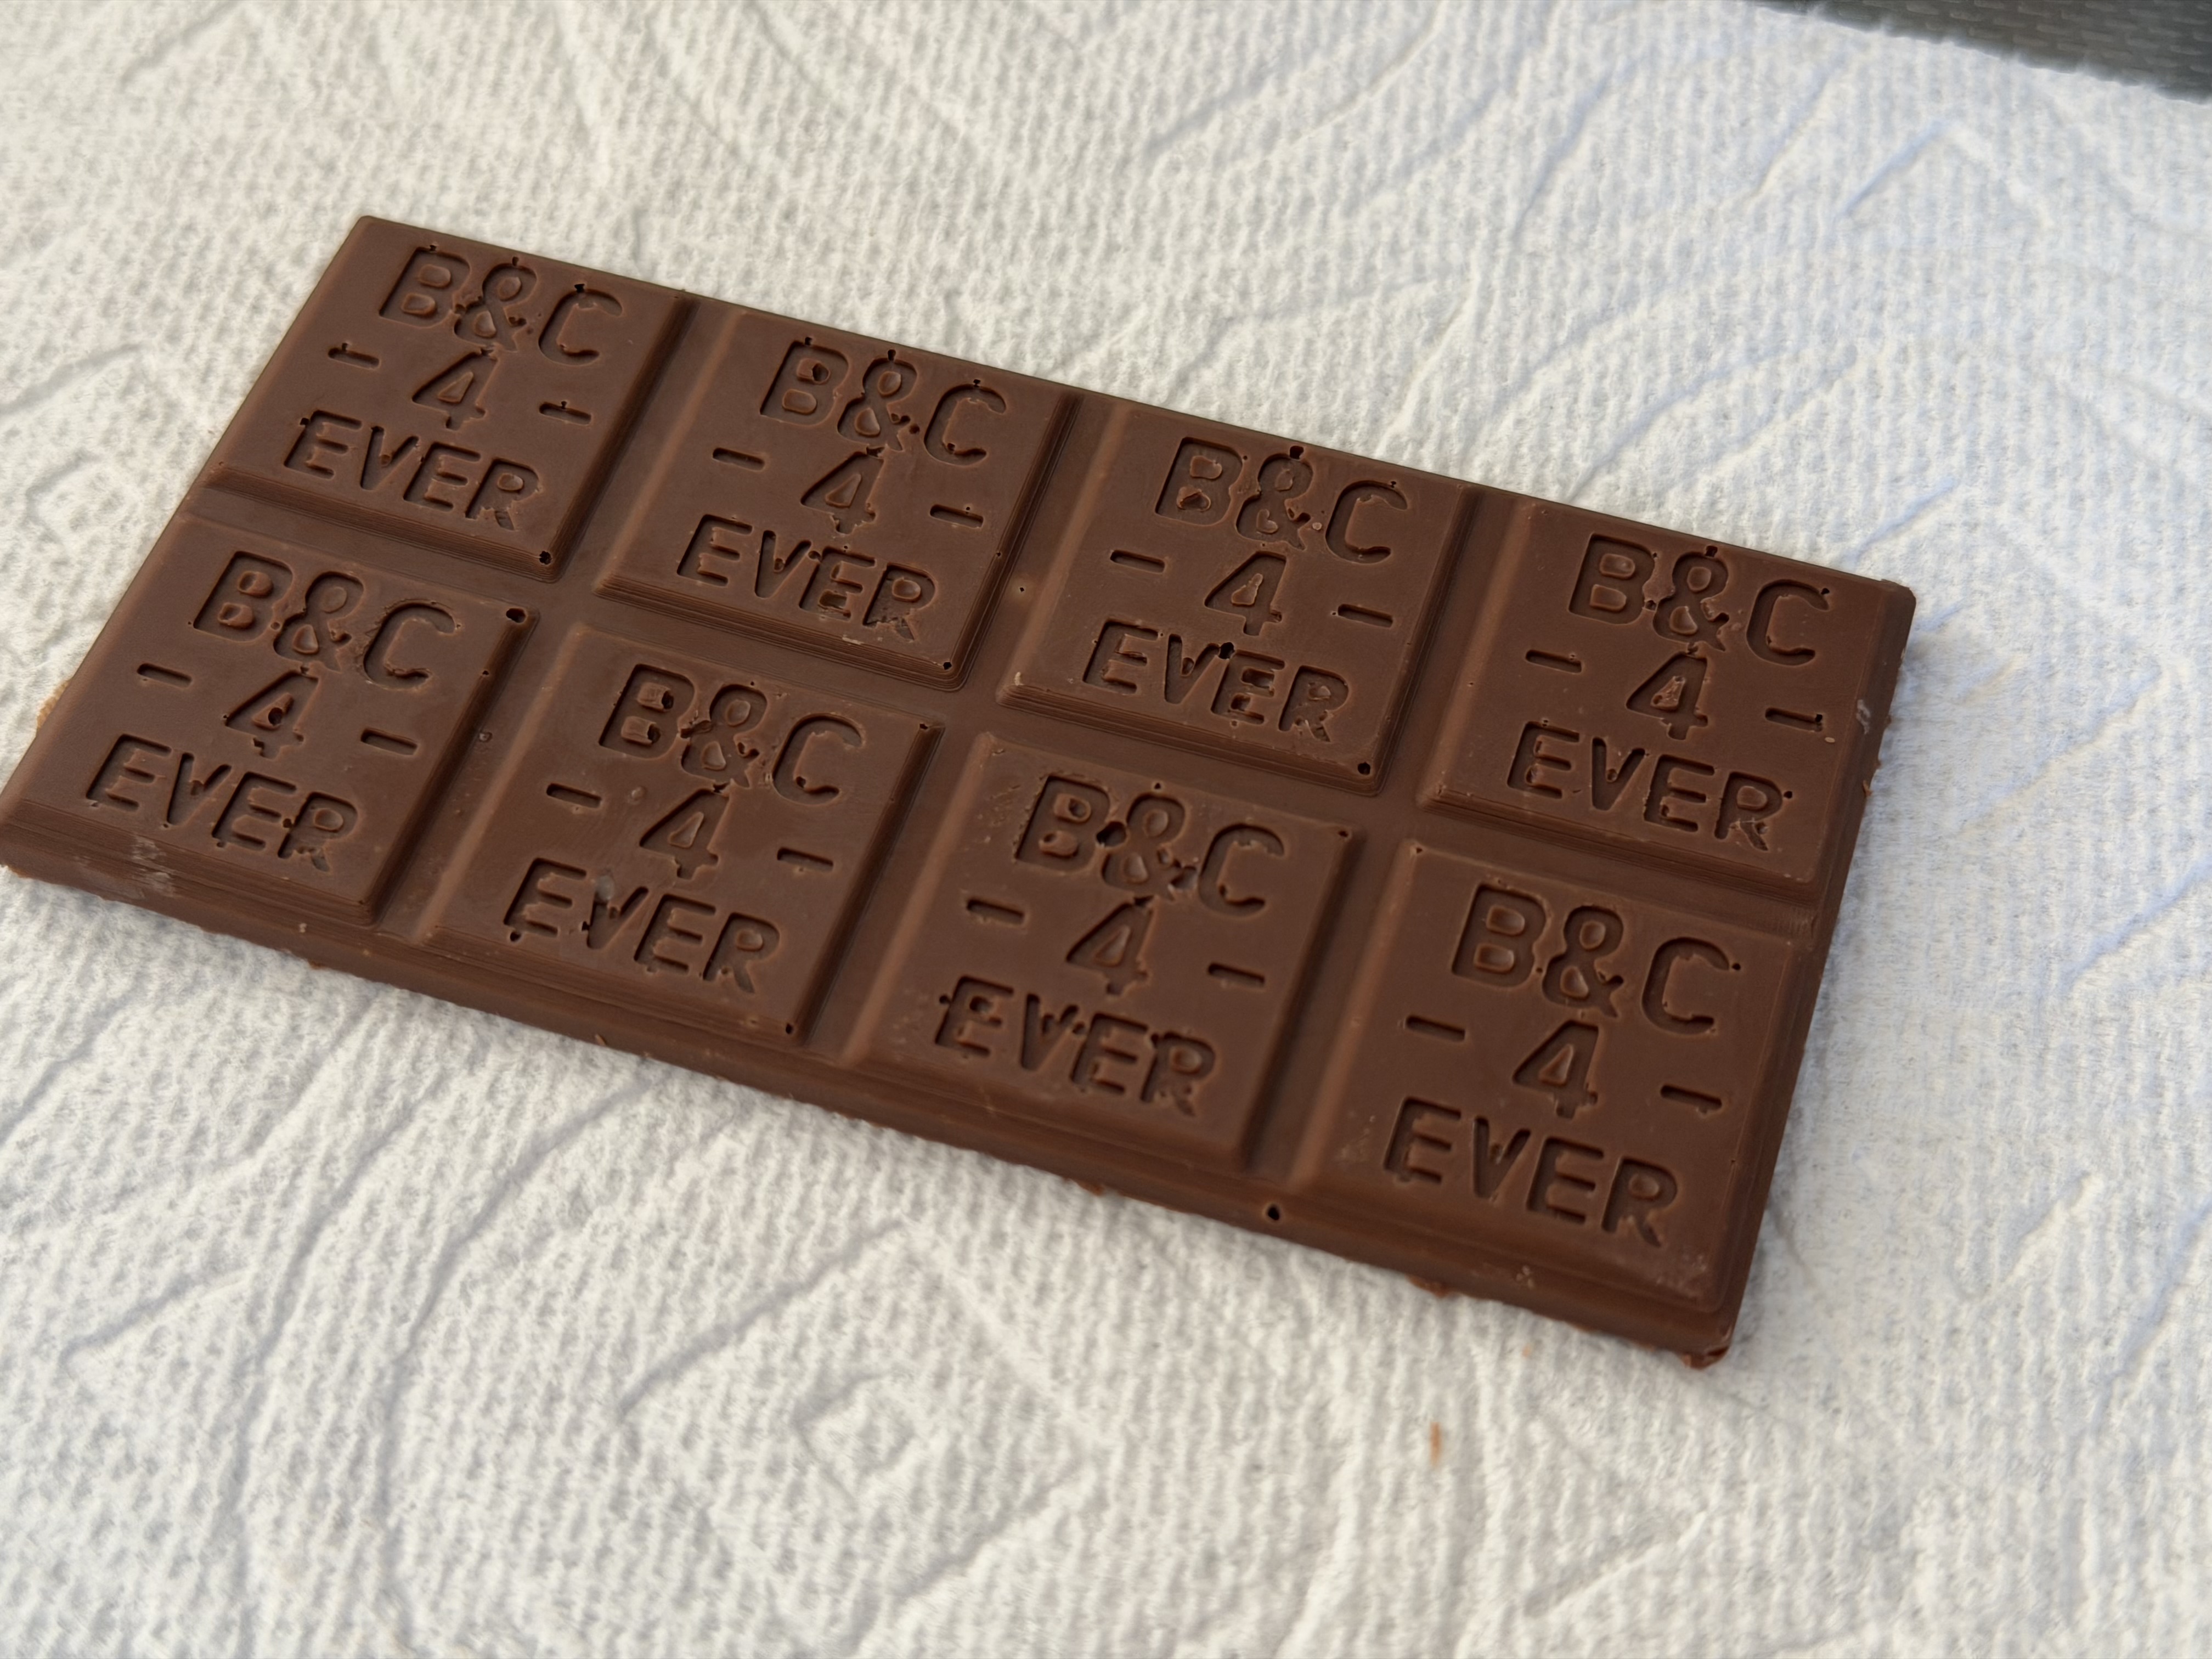
- Another problem was that I made my initial bar too low, at only 2mm. I settled on 7mm instead which was closer to commercially available chocolate bars.
- It's important you fillet the edges, basically give them a slope. This will make it easier for both the silicone mold to release and for the chocolate bar to come out.

Printing the master
- Printed on a Bambu X1C with standard PLA. The master is used for casting, so material doesn't really matter.
- The silicone will copy every feature, so print on the highest quality you can.
- If your printer supports it, enable ironing. This will literally use the heated nozzle to iron out print lines on top surfaces.
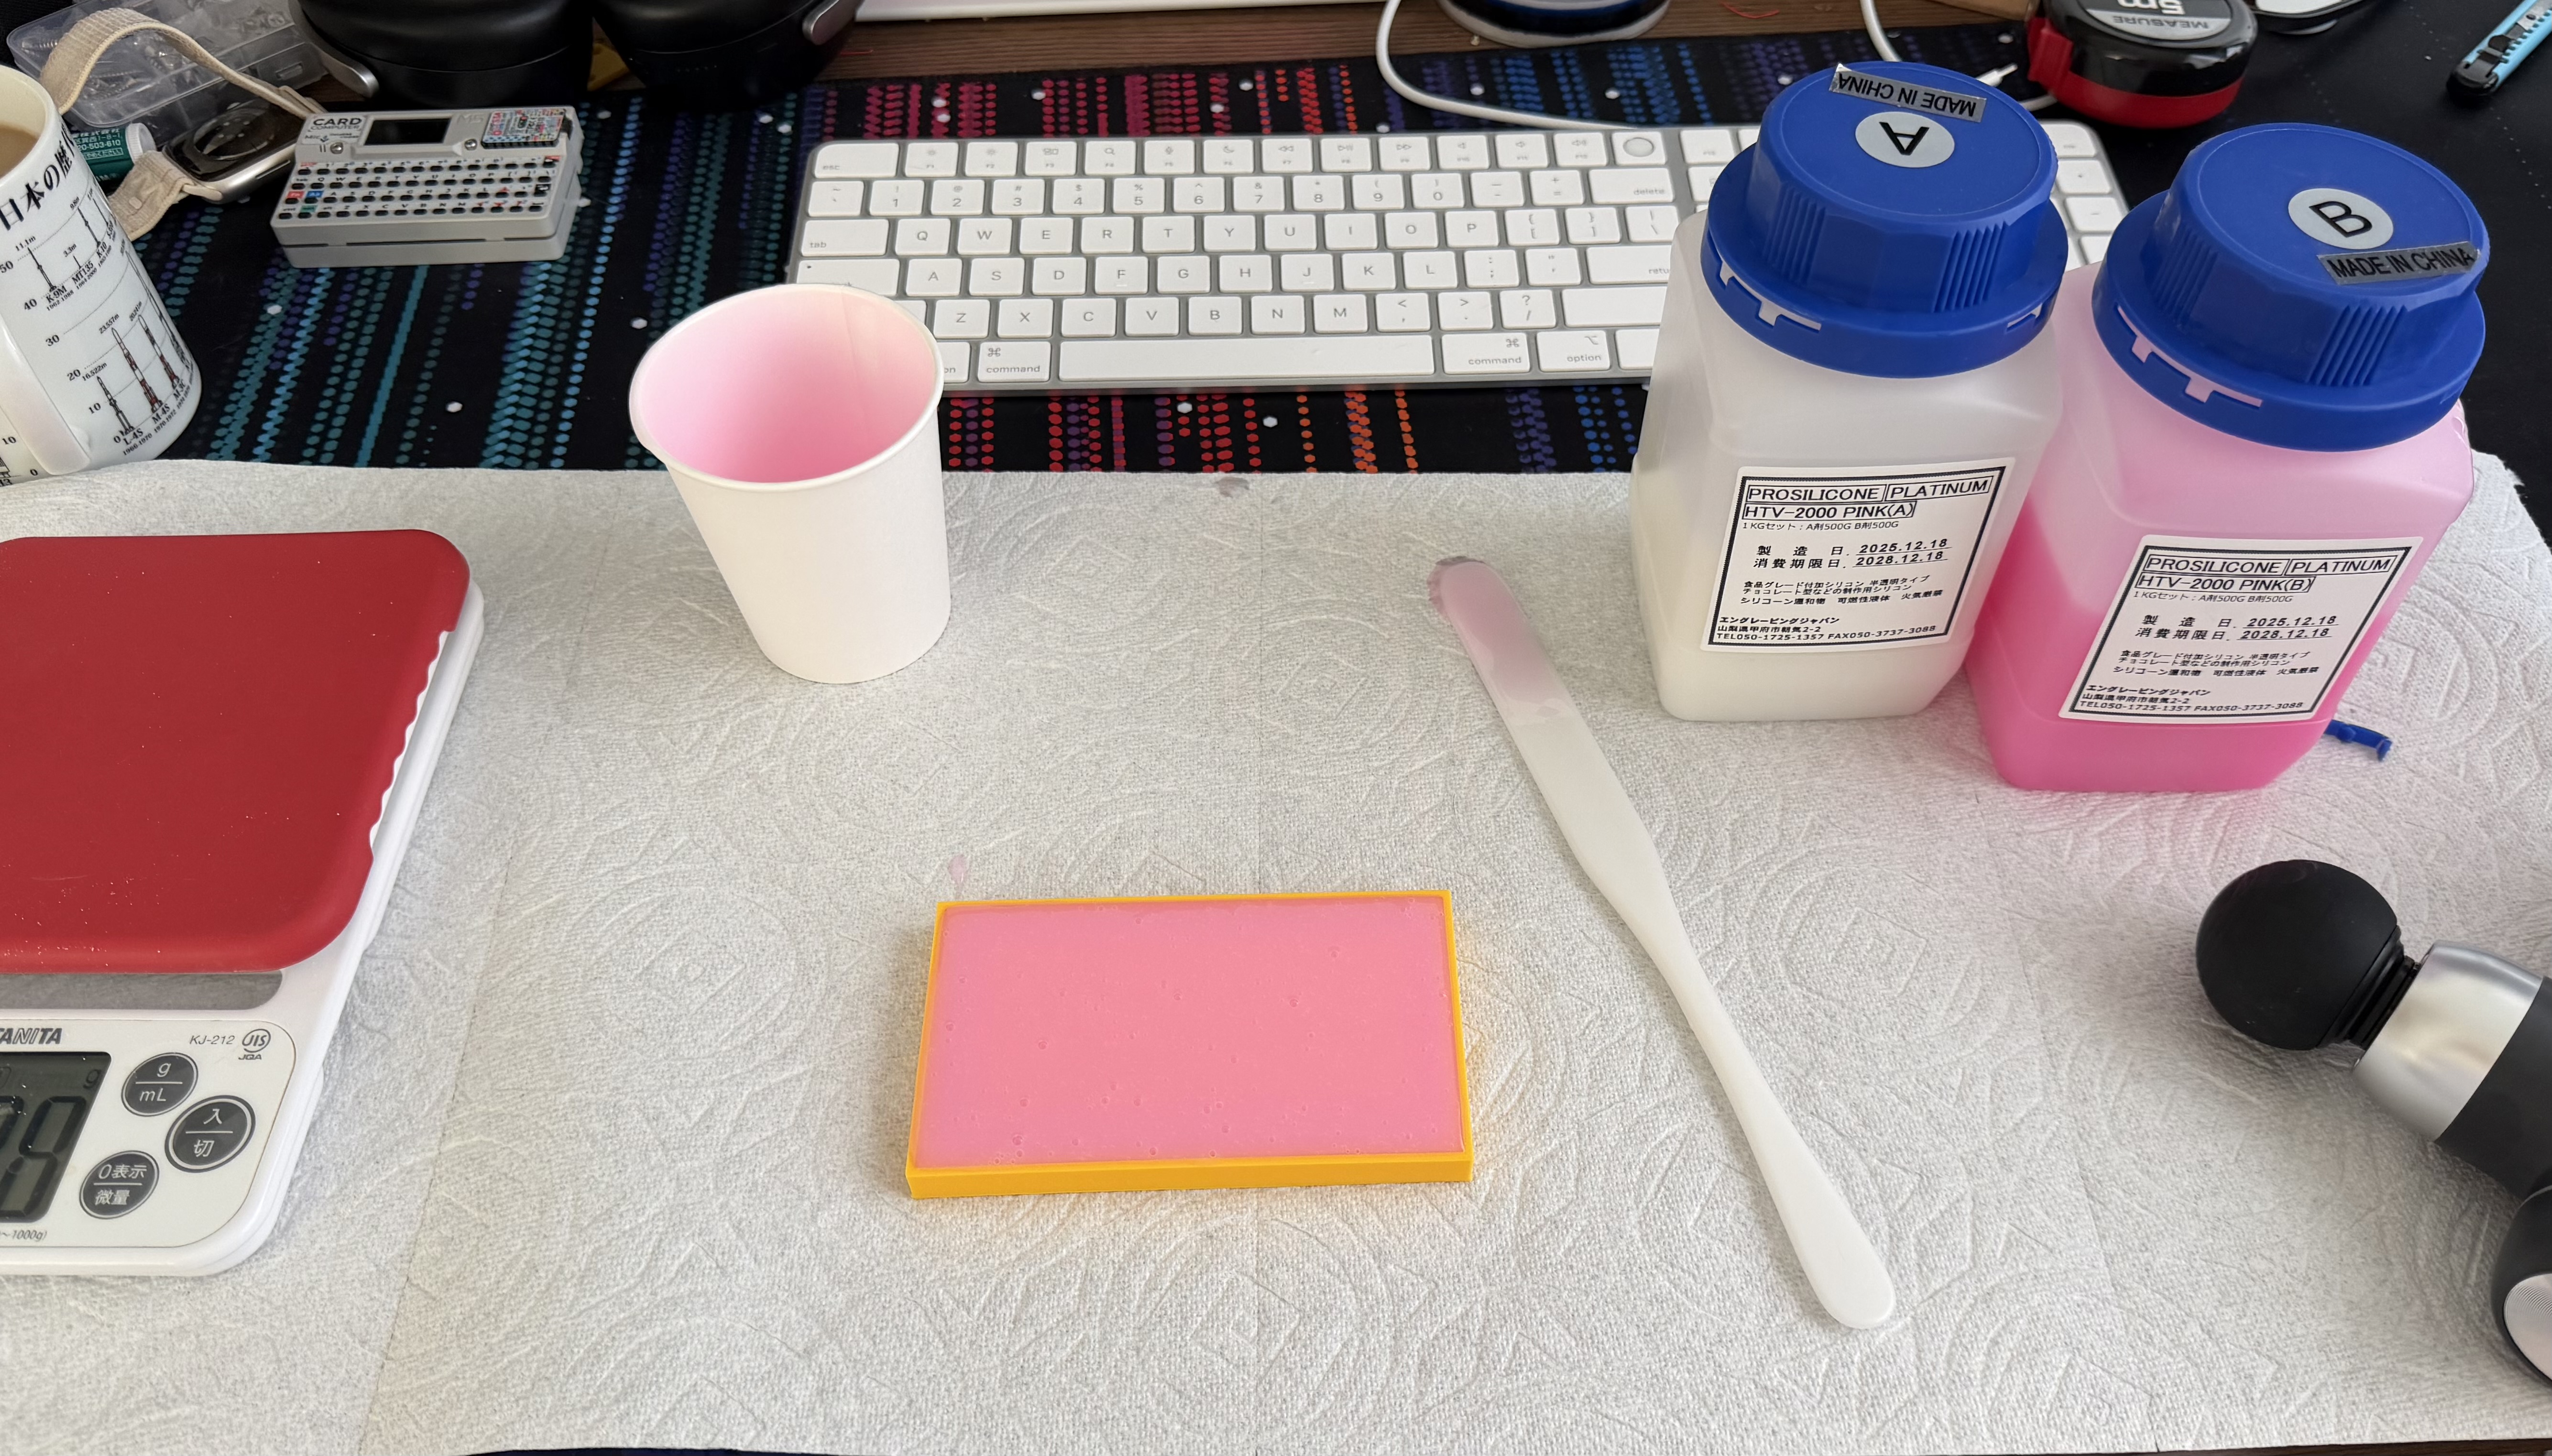
Pouring a mold
- I used platinum grade silicone, this cures quite fast, especially in warmed environments.
- My 3D printer supports arbitrarily heating the printing bed, so I used that to speed up the curing. I set it to 60 degrees. It fully cured within 90 minutes.
- Mixing the two parts of silicone to make a curable matter means you'll introduce air bubbles. There is a few ways to minimize this:
-
- Use a massage gun or something similar to vibrate the bubbles from your pouring cup. This takes a while
-
- Use a vacuum chamber to "boil" the mixture so the bubbles leave the compound
-
- Pour from a higher distance so the air effectively gets blown out once it hits the master
-
- I used the high pour + the massage gun to get an OK result.
-
- In the future I will allow it to settle for longer, before curing it at a higher temperature.
- Silicone is quite tough, and removing the master from the mold was much easier than expected.
- Again: the silicone will copy all features. You will see print lines.
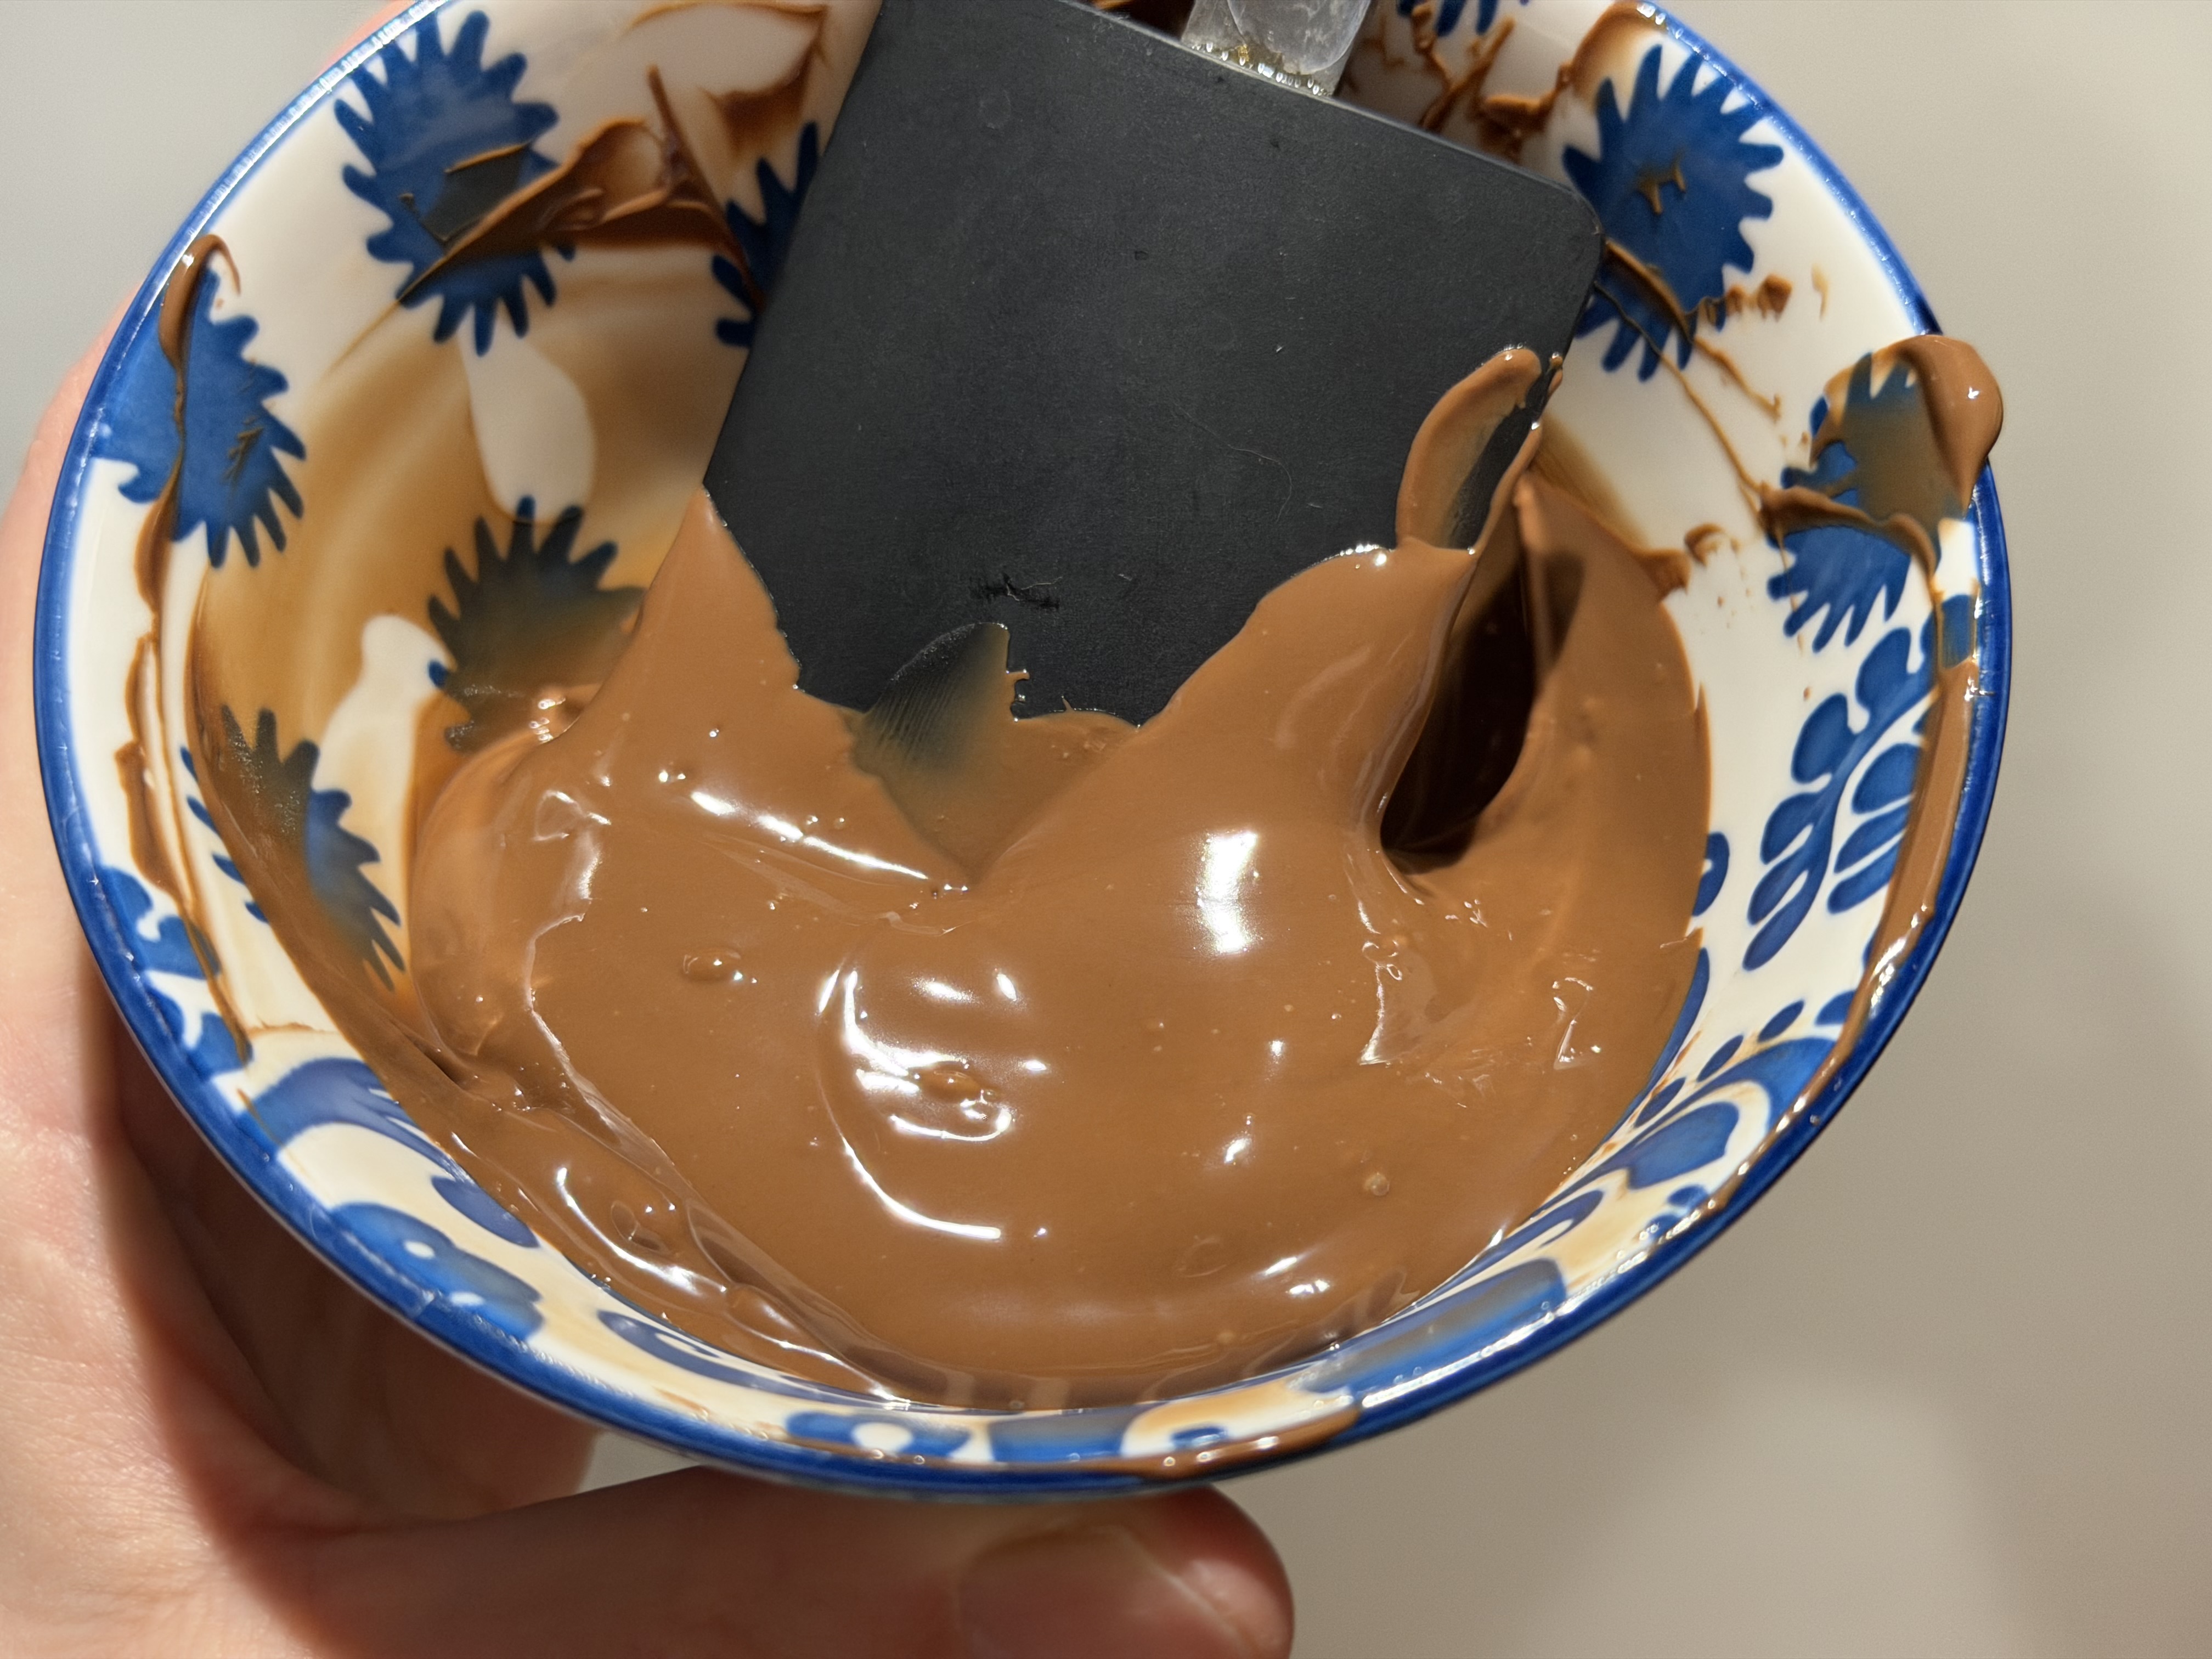
Melting the chocolate
- I melted 75 grams of Meiji chocolate in a microwave at 10 seconds, followed by 5 second bursts, at 600 watt.
- It took about 90 seconds. Once the majority of the chocolate was melted, I mixed in whatever remained using the residual heat from the bowl and melted chocolate.
- Keep mixing the chocolate until it reaches 29 or 30 degrees.
-
- Mixing it will "temper" the chocolate. I don't know the science behind it but apparently stirring it allows it to form matrices which results in a stronger bond, and thus prettier non-brittle chocolate
- The Internet told me to use all kinds of contraptions, I found that the microwave works just fine.
Pouring the chocolate
- Slow and steady wins the race. Some air bubbles will form, such is life. Same steps can be used as you used for the silicone.
- I used a silicone spatula to even out the chocolate. I made chopping movements whilst evening out the chocolate to get rid of air. This worked quite well.
- I allowed the chocolate to set for around 20 minutes, after that I moved it into the fridge for the final setting.
-
- Again, the Internet told me not to do this, but the bars came out fine.
- Removing the bar from the mold was easy, but took patience. None of my bars cracked, but definitely needs careful handling.